TRADITIONAL FLOOR LAYING
Description and technical features Laying "Maximum" slabs requires similar laying conditions to those required for traditional format slabs. Maximum requires the adhesive to be applied both on the setting bed and on the back of the slab. Maximum slabs for flooring require the following conditions:
- A flat surface;
- Clean and free from dust, scraps and any lumps of cement;
- The setting bed must be uniform and have already undergone the drying shrinkage process;
- Repair of any cracks;
- Any uneven parts on the surface must be filled with suitable levelling compounds.
Instruments required
- Cement-based powder adhesive for full spread, class “C2E according to EN12004 and S1 according to EN12002 standards”;
- 3x3 mm square toothed trowel and 15 mm round toothed trowel;
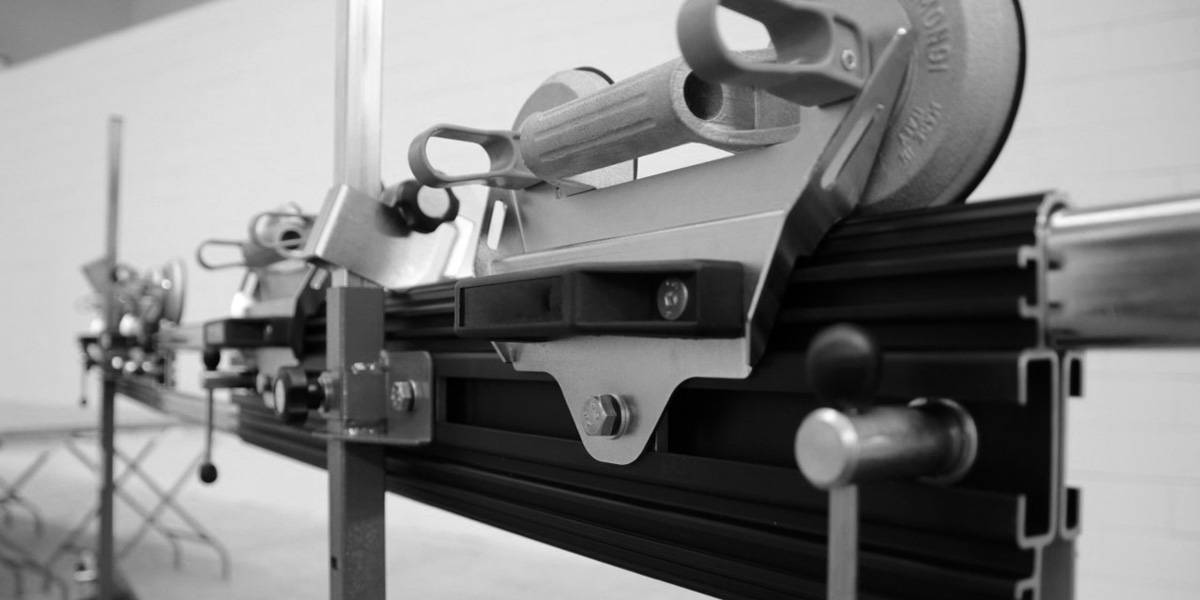
- Frame with suction cups for handling or double suction cups;
- Non-bounce plastic mallet 170x370 mm;
- Levelling system: base clip + wedge + pliers.
Processing stages:
BONDING TO THE FLOOR
1) Ensure that the surface to be covered is solid, flat and free from dust and oil/grease.
2) Use the adhesives described above mixed according to the specifications indicated in the technical data sheet of the chosen adhesive.
3) Spread the adhesive onto the surface to be covered with a 15 mm round toothed trowel across an area of 5/10 cm more than the dimensions of the slab.
4) With the slab in a vertical position on the handling frame, spread the adhesive onto the back of the slab with a 3x3 mm square toothed trowel.
5) Using the frame with suction cups, bring the slab into a horizontal position and lay it.
6) To guarantee uniform bonding of the slab, the special 170x370 mm non-bounce plastic mallet must be used, tapping from the middle towards the edges so as to remove any air pockets between the back of the slab, the adhesive and the surface to be tiled.
7) Using the levelling system
LEVELLING SYSTEM
The levelling system aims to guarantee perfectly levelled floors simply and quickly, eliminating any unevenness between the slabs.
The levelling system is strongly recommended for laying “Maximum” slabs.
Instruments required
- Base clip;
- Wedge;
- Adjustable pliers for installing floors/wall Slabs.
Application of the levelling system
Positioning the base clip:
a) After spreading the adhesive, insert the base clip below the "Maximum" slab on the 4 sides.
b) Depending on the format of the slab, position one or more supports for each side of the slab.
c) Position the slab.
Inserting the wedge:
a) Insert the wedge in the slot of the support, taking care not to exceed the breaking point.
b) To make inserting the wedge easier, it is recommended to use the adjustable pliers.
Removing the support:
a) Once the adhesive has dried, the protruding part of the support can be separated from the base clip by tapping with your foot in line with the joint.
WALL COVERING WITH HIDDEN MECHANICAL SAFETY HOOK
The laying system with hidden mechanical safety hook on 6 mm “Maximum” slabs allows the wall covering to be installed in complete safety with a great impact.
For this application system, the “Maximum” slab is pre-processed in the factory, so that it is delivered to the site already equipped with the hidden mechanical safety hook, sealed onto the back of the slab and complete with protective film on the back.
Instruments required
- Handling frame with suction cups;
- Cement-based powder adhesive for full spread, class “C2E according to EN12004 and S1 according to EN12002 standards”;
- 15 mm round toothed trowel;
- 3x3 mm square toothed trowel;
- Gas-powered nailing machine and relative nails.
BONDING TO THE WALL
1) Ensure that the surface to be covered is solid, flat and free from dust;
2) Cement-based powder adhesive for full spread, class “C2E according to EN12004 and S1 according to EN12002 standards”;
3) Spread the adhesive onto the surface to be covered with a 15 mm round toothed trowel across an area of 5/10 cm more than the dimensions of the slab;
4) With the slab in a vertical position on the handling frame, spread the adhesive onto the back of the slab with a 3x3 mm square toothed trowel;
5) Using the handling frame in a vertical position lay the slab;
6) Before releasing the slab from the handling frame, ensure that the adhesive will hold it in place;
7) To guarantee complete bonding of the slab and eliminating any air, tap from the middle towards the edges using the non-bounce plastic mallet;
8) Before bonding the next slab, fix the hidden mechanical hook to the wall with the relevant nails (length 27 mm) using the gas-powered nailing machine. In order to guarantee that the mechanical hook is properly fixed, it is recommended to use the suitable gas-powered nailing machine, which can ensure a constant supply of energy.


 Italiano
  English
  Deutsch
  Français
  Español

